A Step-By-Step Guide to Bud Vase Flower Arrangement.
Bud Vase Fairy Tale. Yes Please.
We have been seeing some growing interest from people around bud vase flower arrangement and design. So we decided to do a step-by-step tutorial on how to not only design bud vase arrangements, but how to decorate an entire table with them for your next dinner party.
When it comes to bud vase flower design, we suggest you pick 4 to 5 different types of flowers. One larger main flower, one other contrasting main flower, and a few other flowers for texture. By combining these together in a strategic way you can create a cohesive and interesting tablescape where your bud vase floral arrangements act together as one harmonious arrangement.
Read on for some tips on how to take your bud vase flower arrangement game to the next level. With this easy step-by-step tutorial, you will get some great ideas to make your next dinner party table look like a fairy tale.
Set Out the Number of Bud Vases that Will Be Used.
The first thing you should do is consider the table that you are going to be placing the bud vases on. What shape is it? How long? Next, you should pull the bud vases for that specific table, and place them in the order that they will be arranged in the final design. In our example, we are going to place them on our dining room table. Instead of thinking of the bud vase as an individual arrangement, you should consider the bud vases as a whole. Think of this as one large arrangement that spans across the table.
Here are some cute bud vases (Link to Amazon) that are similar to the ones we used.
Fill Your Bud Vases with Water.
This is a very simple step, but one tip to consider is that the water level should be equal in every bud vase. It is more visually pleasing when the water is leveled in your bud vases across the tablescape. It is extra steps like this that take your design from good to great. Don’t forget to add flower food.
Place one Flower Type at a Time.
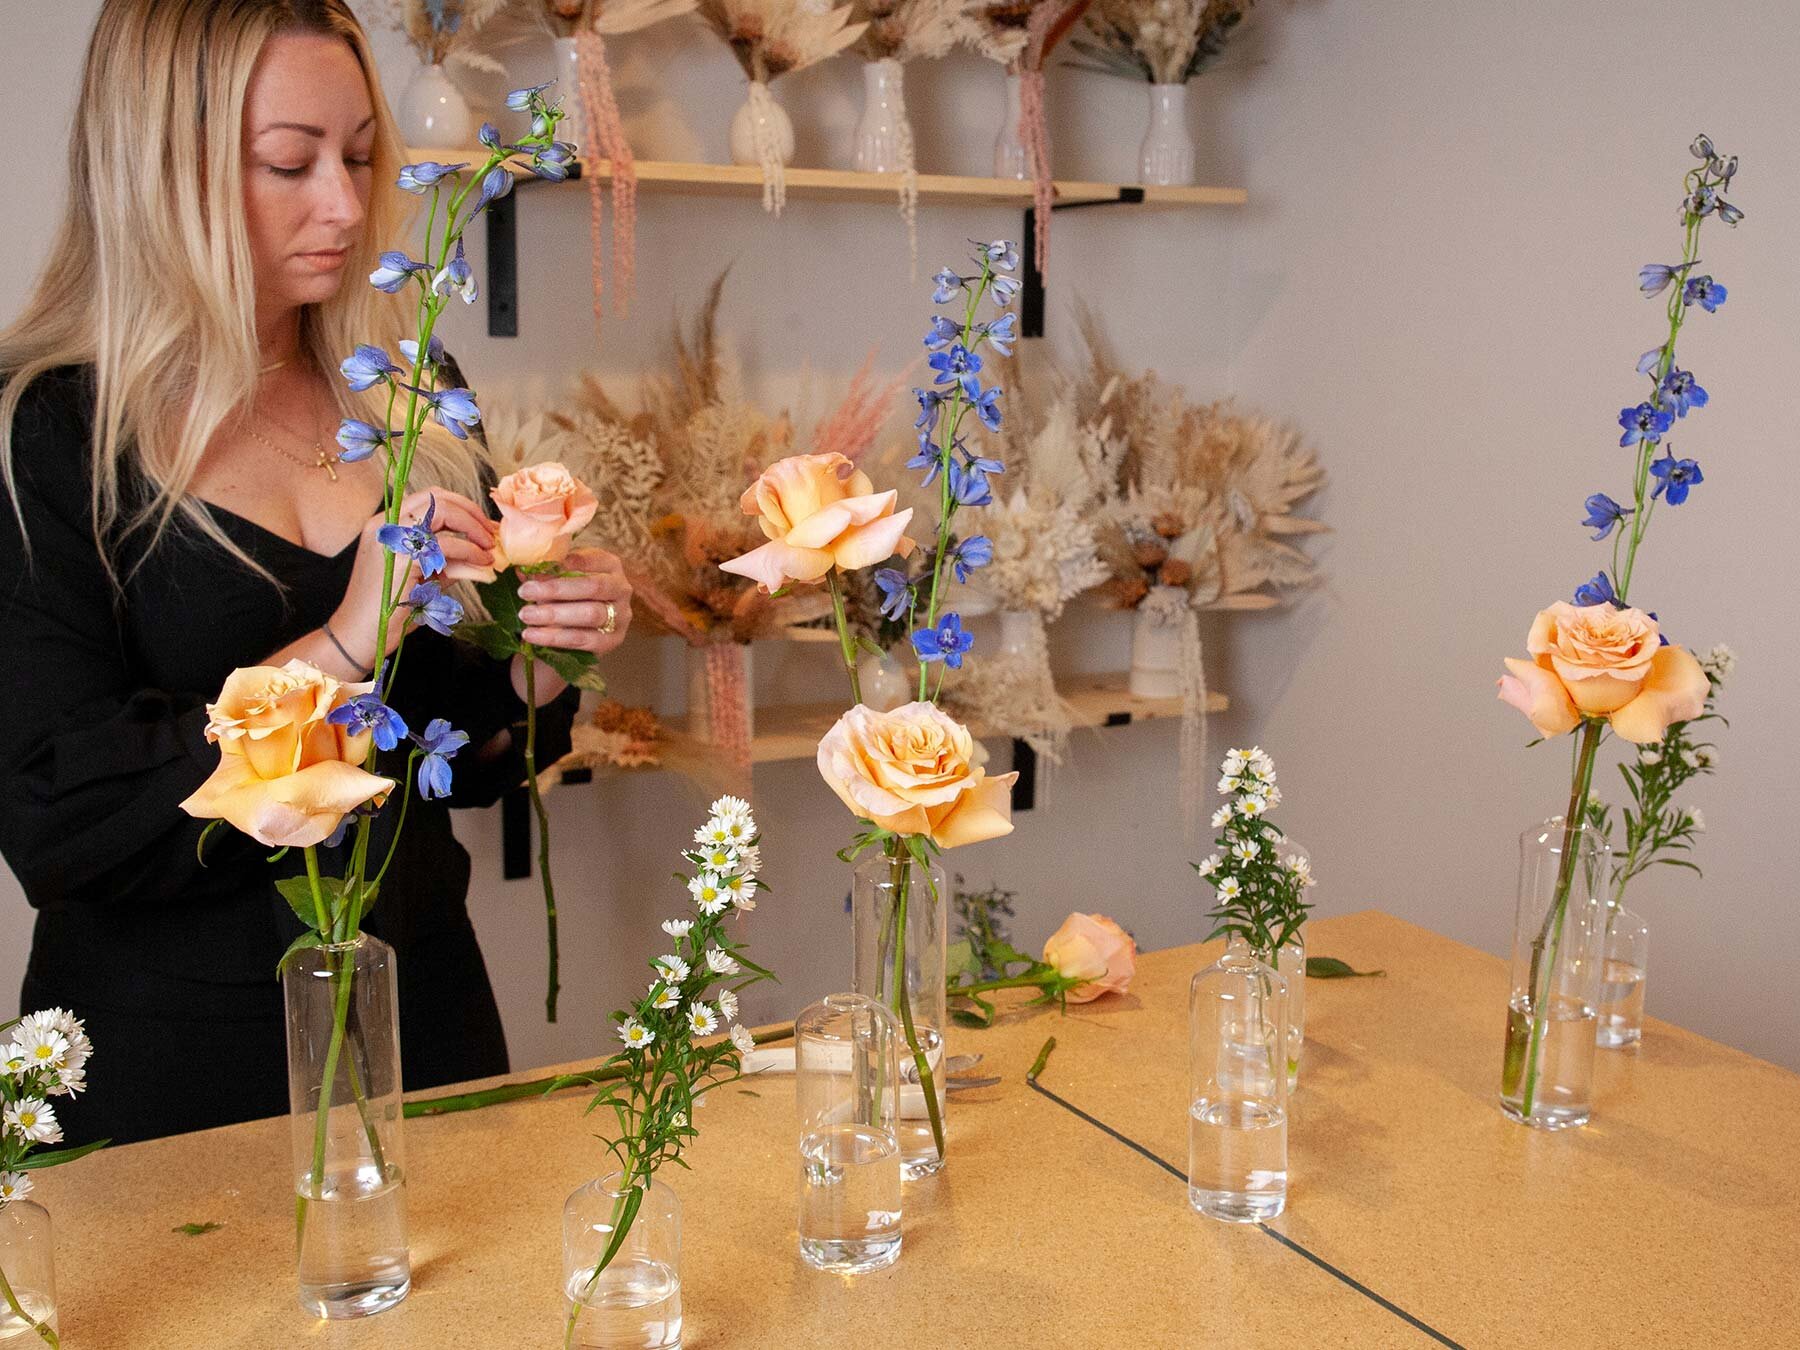
We think that the easiest way to do this is to pick one of your main flowers and place that first. Place it everywhere where you think that it should go in the entire scene. In this example, I decided to start with the delphinium. I wanted to create height and dimension right off the bat, so I placed them standing tall.
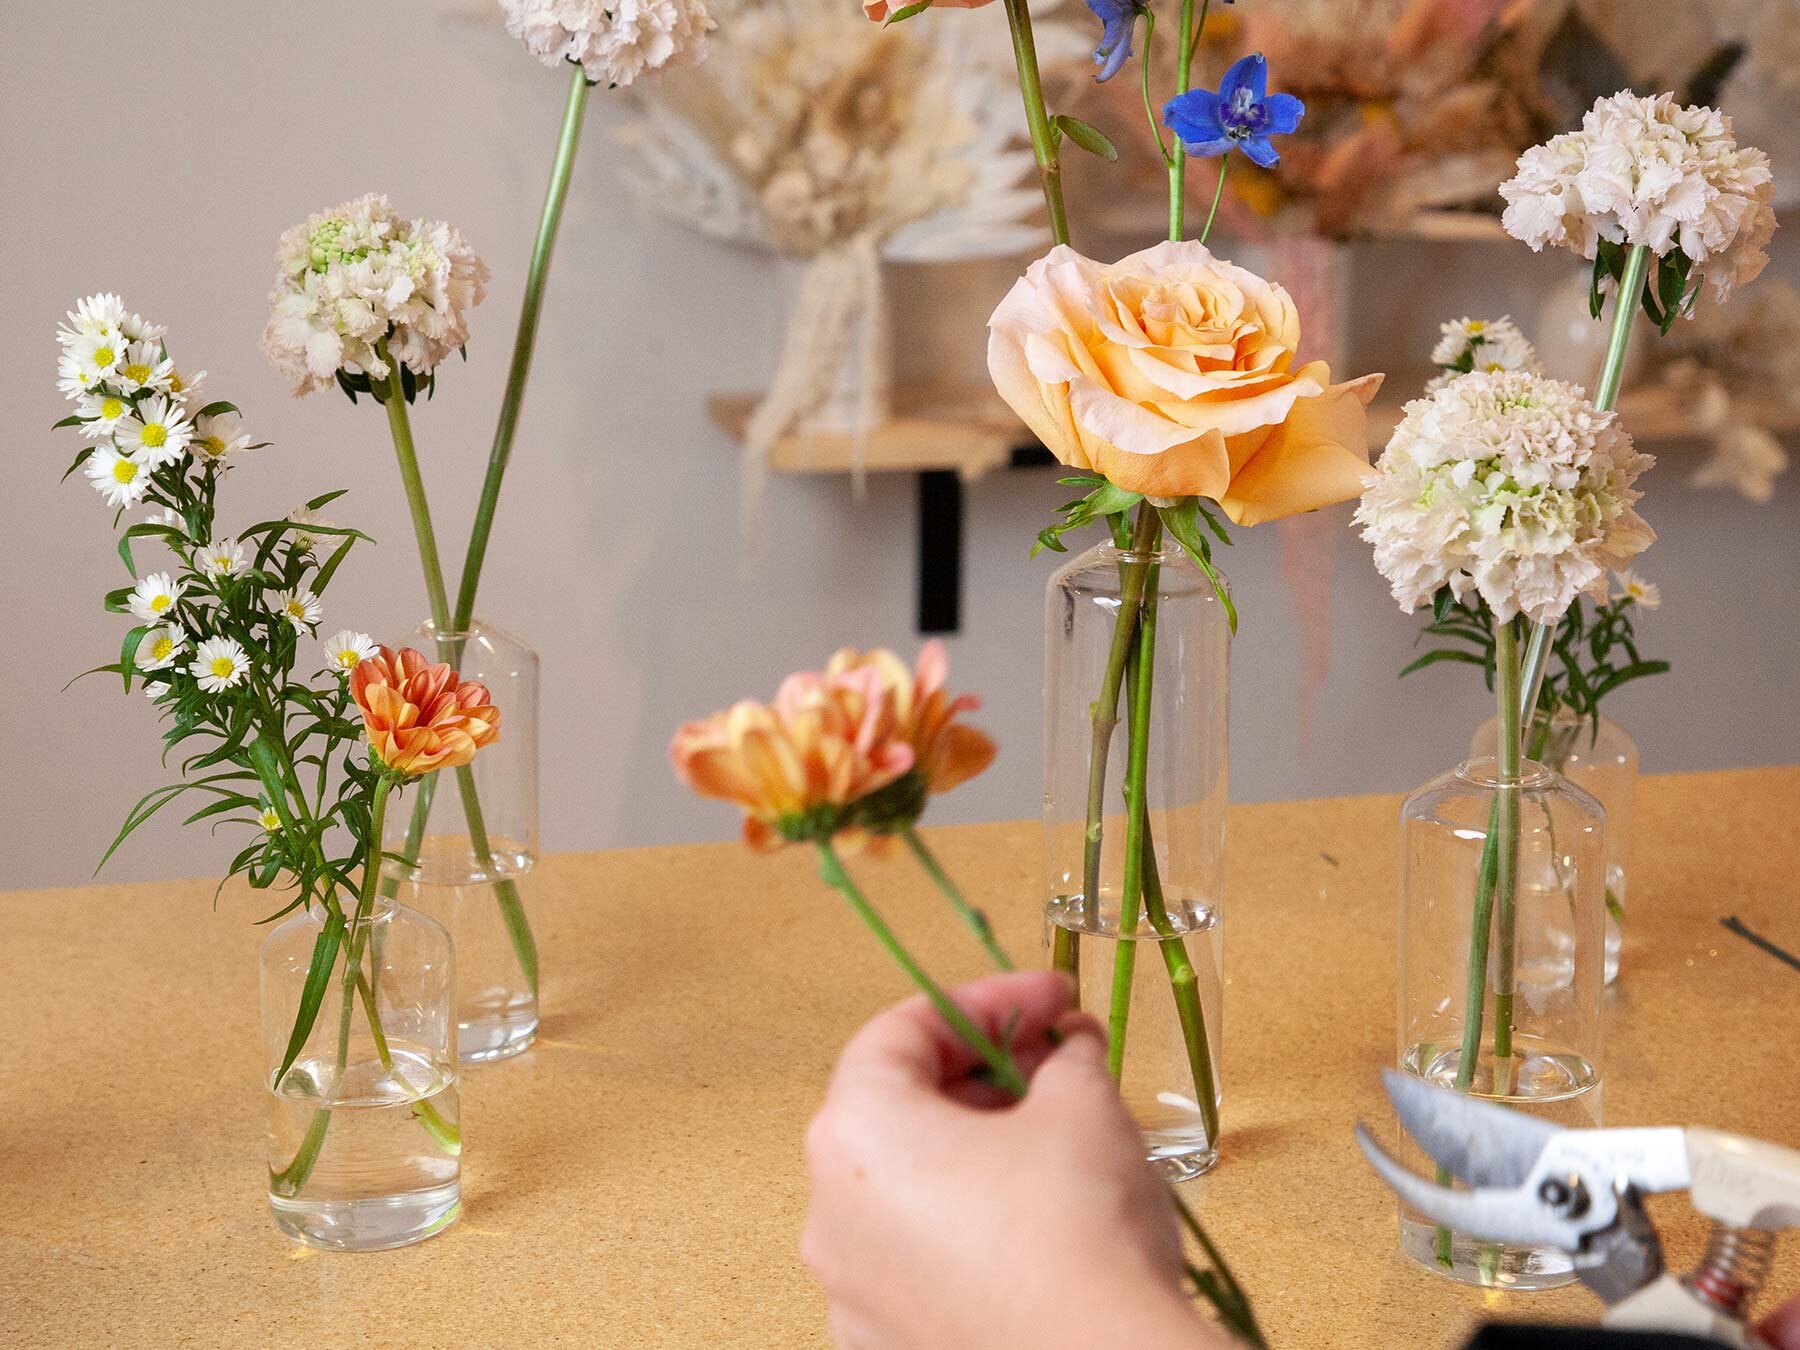
Side note: If you want a great pair of clippers, consider using these (link to Amazon). I have been using these for floral shears for years and I love them. They are light, sharp, affordable, and the perfect size for almost everything. I even used them during this project.
Continue Placing your Flowers.
Next, I decided to use my biggest flower, the rose. The bud vases have very small openings, so I wanted to place them early on before I ran out of room. In this design, I decided to place the roses with the delphinium. I did this because I liked the contrast in color between the dark blue and peachy blush. I also loved the contrast between the huge head of the rose and the small buds of the delphinium. A tip for getting your rose to look large and at its peak is to blow into the center of the rose and try to gently spread the petals out with your fingers. Obviously, they naturally open over time, but if you need them to look open immediately, this trick will help.
Fill in the Remaining Bud Vases with Textural Flowers.
Next, I added the pink mums, white asters, and the white-blush scabiosa. The smaller more textural florals are great for filling in the gaps. While filling the visual gaps in the design, textural flowers also add that contrast needed for visual interest. It is important to try to find different levels of contrast in your design, whether it is in floral placement, the texture of leaves and petals, color, height, etc. Contrast is what creates interest. Even monochromatic arrangements have some level of contrast.
Place The Bud Vases on the Table with Intention.
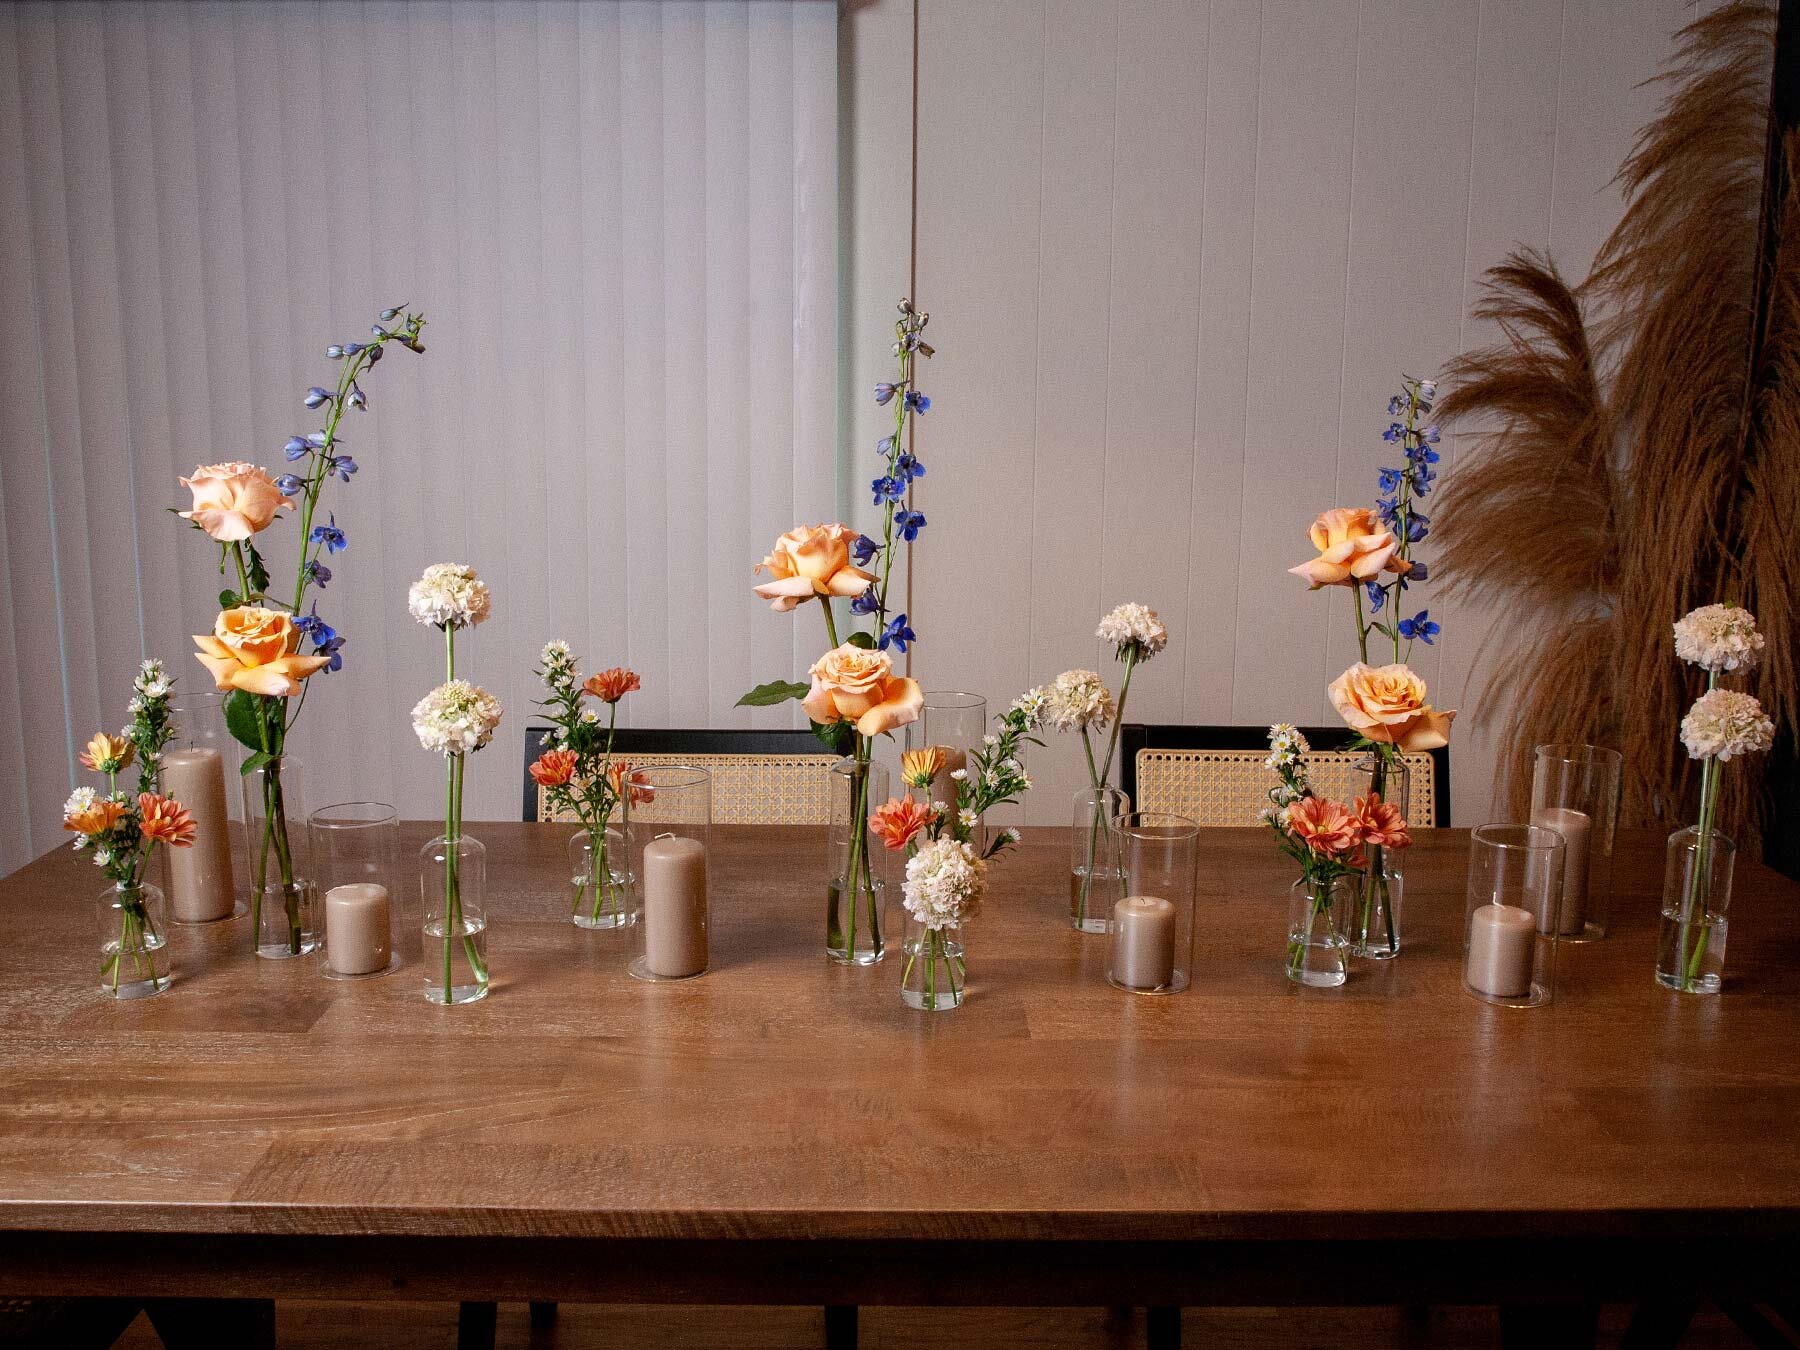
Now its time is to place them on the table. When placing the arrangements, alternate between high and low bud vases. Also, make sure that you evenly distribute the different types of flowers across the table so that it feels balanced. We decided to place our floral arrangements in a staggered way across the center of the table. As you can see our final floral placement is very similar to the order we originally designed them in (You can check back to the design phase above to see what I mean.). It is okay if it doesn’t go to plan when you place them, just adjust your bud vases until you love their final placement. Chances are they will still feel cohesive because they were designed together as a group.
Add in candles for more interest. We take the same approach in candle selection. We think that different size candles help to continue to add that dimension we love to achieve. Another place to add contrast is in the selection of candle color. We chose a light warm grey. We think that the addition of candles can help to set the perfect mood for any dinner party.
Cut Off the Heads of the Leftover Flowers.
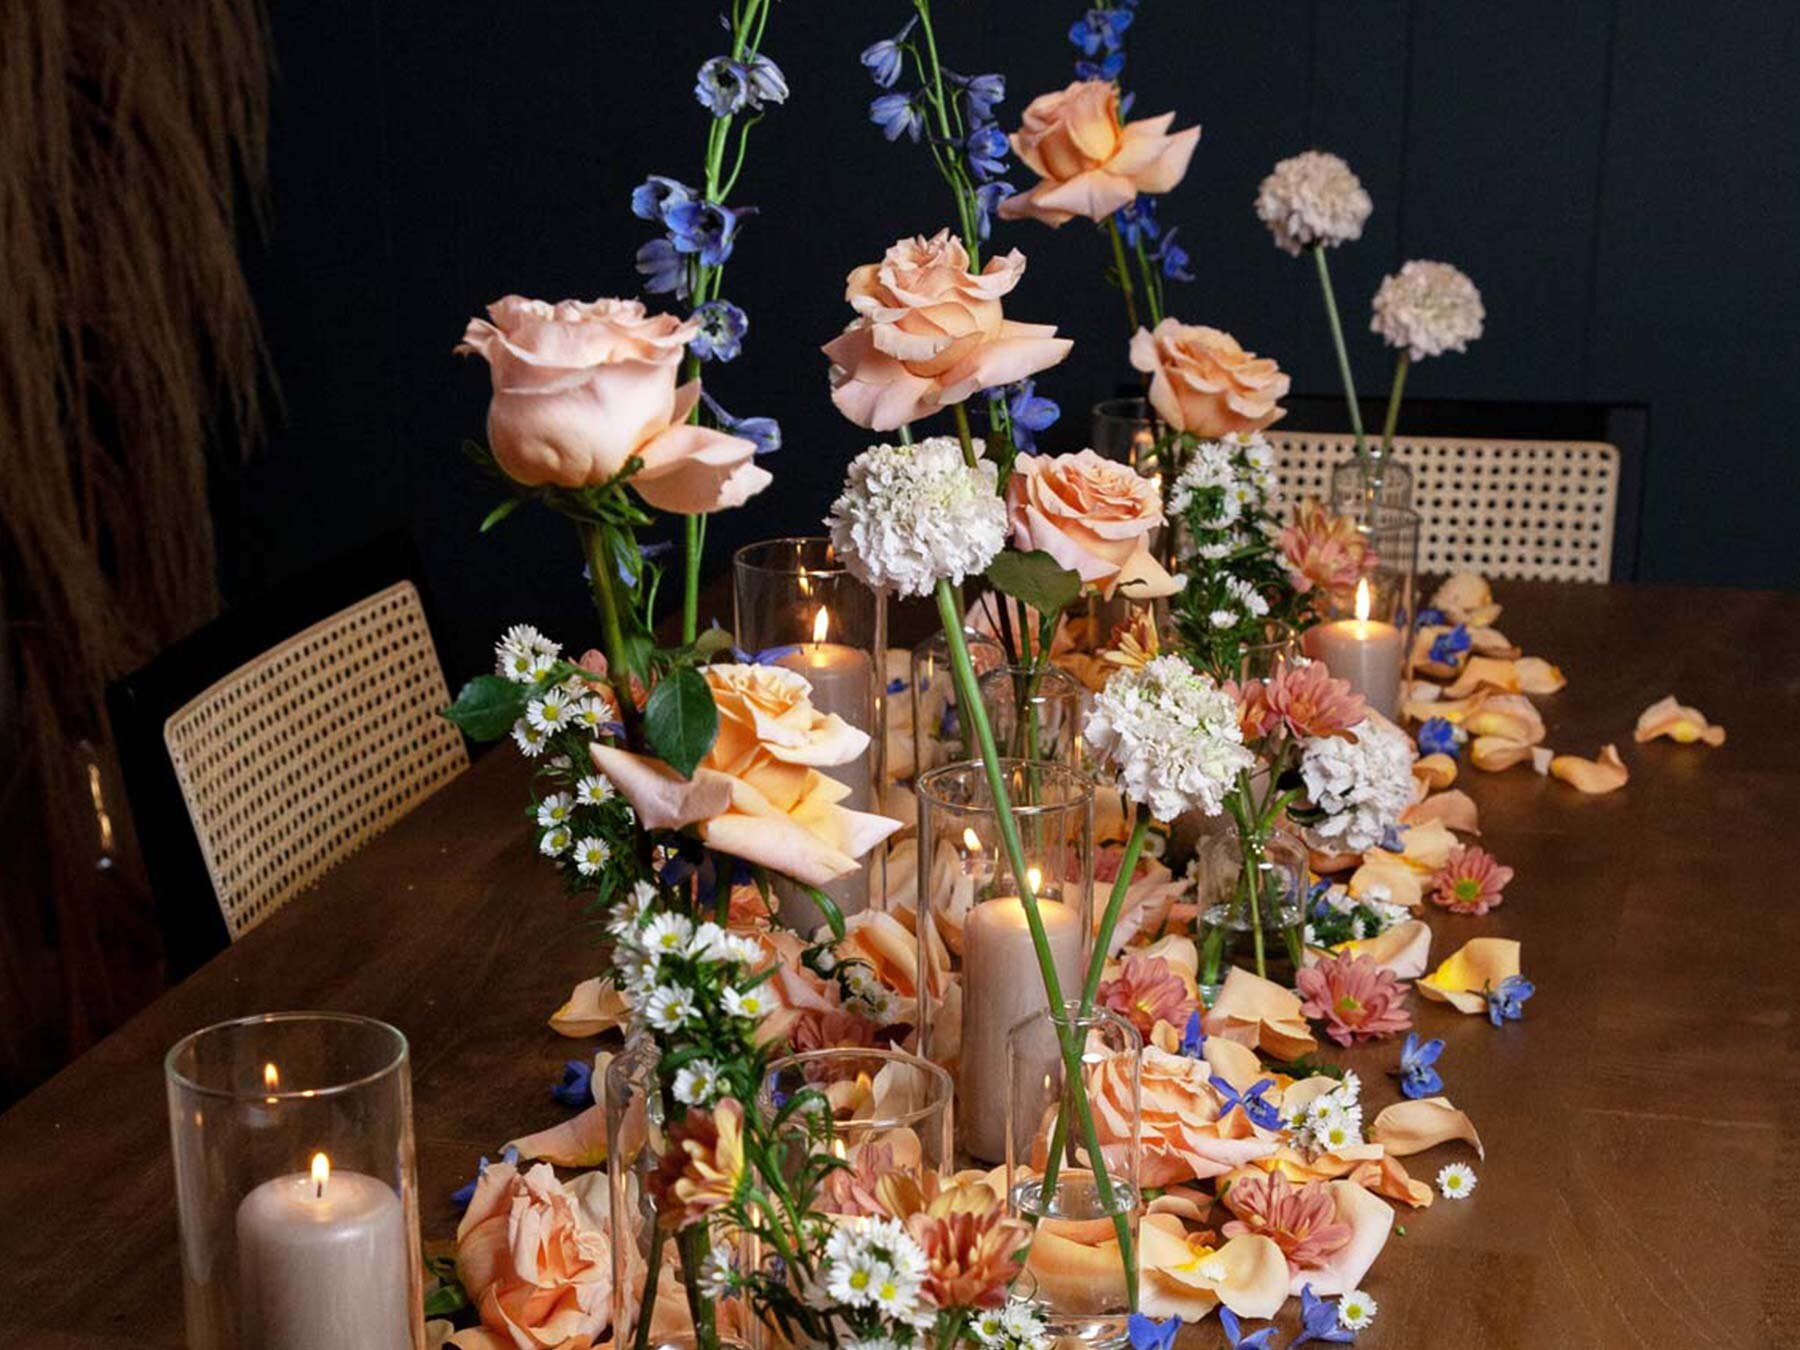
If you have some leftover flowers, cut the flower heads off the stems. If you have roses, pop the heads off and separate some of the heads into petals. Keep some flower heads intact. The goal is to get enough flower petals and heads to sprinkle around on the table.
If you are interested in learning more about our favorite floral clippers by ARS, Check out this review.
Place Your Cut Flowers and Petals Between the Gaps of the Bud Vases.
This final step is very straightforward. Just begin to evenly distribute the petals of the cut flowers around the bud vases. Place your flower heads after the petals are complete. We love to nestle them in the petals and place them on top to give some variety in their placement. If you have any greenery, you could also weave some of it in at this point as well.
Enjoy
Make sure that you allow yourself to have fun and not take it too seriously so that your creativity can flow. This step-by-step bud vase flower design tutorial is just one way to create a bud vase tablescape. You can use the idea’s in this tutorial as a starting point to design in your own special way. It’s time to sit down and enjoy your work with friends and loved ones.
What type of step-by-step would you like to see next? Let us know in the comments.
As an Amazon Associate, Walden Floral LA LLC earns from qualifying purchases. Please check out our Privacy Policy for more info.


